Once you've gathered all your materials, it's (obviously) time to get started. Unwind the size 5 perle cotton - the larger size - and cut it to about the length of your wingspan (arms stretched out as far as they will go). Depending on the project you're doing, it may or may not be enough to get you all the way around, but it's the most you really want to work with at a time. Plus, it's easy enough to start a new thread. Next, thread your tapestry needle.
The first thing to learn when doing Hardanger is called a kloster block. Essentially, it's a group of satin stitches to enclose threads in your fabric so you can later cut threads without it all unraveling. With the cloth in your non-dominant hand, and the threaded needle in your dominant hand, count in at least 20 threads from the side and 30 threads from the top. This can be on either side of the fabric, I just happened to start in the top right corner of mine. My fabric is already cut because I did another ornament out of it before. And also, I didn't count 30 threads down from the top so you'll see where I ran into a bit of a problem later. Pull the thread most of the way through, but leave a good-size tail on the back. You'll encase it in stitches later to keep it from pulling out.

Now, in the same row count in 4 threads (toward the middle, not the edge) and take your needle down and pull firm (not tight!). You may want to hold the tail in your fingers so you don't pull it all the way out...not like that ever happened to me, though (ha!).


On the backside, take your needle back 4 threads to the outside and up 1. As you pull the thread through, make sure you wrap around the tail. You'll catch it in every stitch on the back until you run out of tail or feel like it's significantly 'caught'.


 Repeat until you have five stitches on the front (enclosing 4 threads). You've caught the tail under each stitch on the back, right? You've made a kloster block!!! Now there's only 11 more to go if you're making this little ornament. I know Christmas is over, but you could be getting jump start on gifts for next year (or keep the first for yourself).
 You've been catching the tail on the back all the way around, right? It's probably secure at this point, but I like to run it under at least two kloster blocks just to be safe.
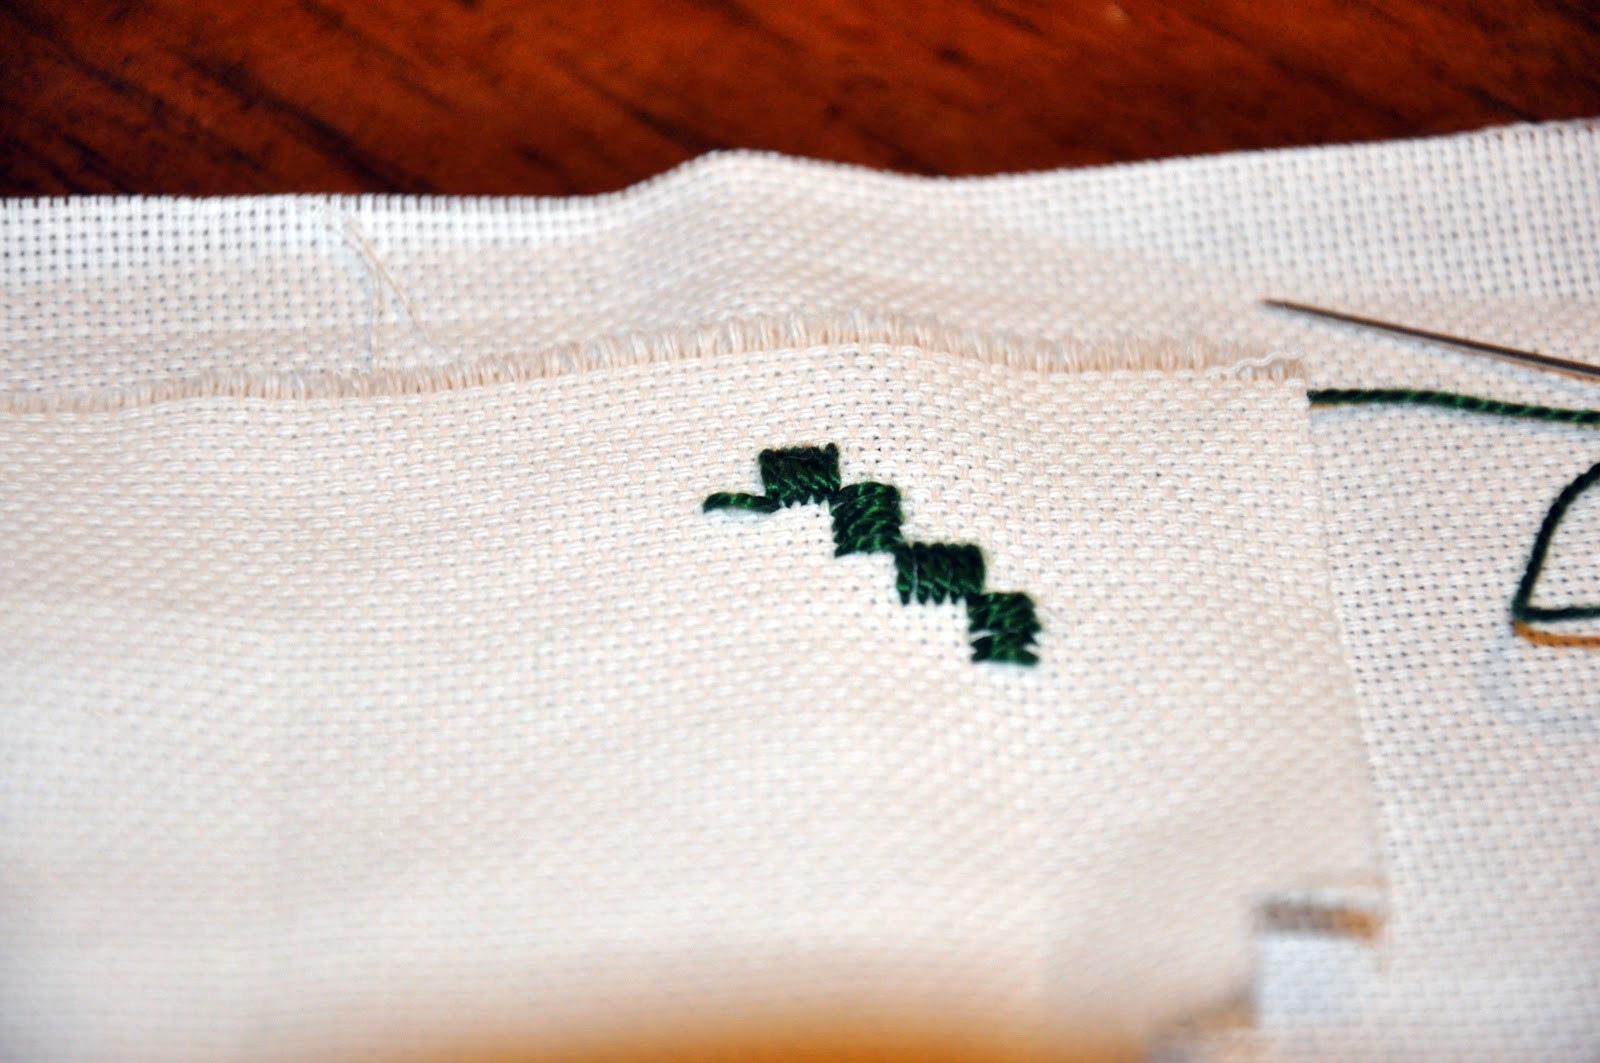
 So, with your thread on the back side, take your needle directly UP 4 threads rather than to the outside 4 and up 1. You're going to be starting in a new direction. The picture below shows the front side of the work. When you bring the needle up 4 threads toward the top, you're going to run it back down where your last kloster block ended...4 threads down again. You'll have the thread running through that hole twice.
 You're still catching the tail on the back, right? I'm not sure how long you left yours, but you'll probably want it long enough to catch at least most of the way through the second kloster block. When you get to the end of this block and it's still pretty long, you can trim it.
 I would also like to let you know that sometimes despite your best efforts, your thread will get tangled (pictured left). It may look like a knot, but usually if you pull on the correct loop it'll come loose. So be patient and work it out rather than pulling the ends of the thread and making it tighter. Use the needle to get in there if you need to. Or tweezers sometimes work.
 Back to the sewing: So after this block, you'll be turning your work to go up again and make another kloster block where the stitches within it run horizontal (like the first one we did). From where your thread is on the back, count up 4 threads and run it through that hole again. Yes, another thread is already running through there. Are you starting to see a pattern when turning? If not yet, well, you will. From where you just came up on the front, count 4 threads to the inside and go back down. On the back, count out 4 and up one and repeat until you have....that's right, 5 stitches. You're totally getting it! My tail has finally been about completely captured. Looking back, I probably should have trimmed it pretty short on the third or fourth stitch of that block rather than leave it poking out of the top, but hindsight is 20-20, right?
Turn your orientation again and run a kloster block of vertical stitches along the top. After this, the directions get a bit redundant. Make sure that when you turn your work, you're going through a hole you've already been through once. This anchors your threads so you can cut them later.


 And finally we make it all the way around. There are 12 kloster blocks in all and it looks a bit like a cross or a puzzle piece on the inside. Now all you have is the rest of your thread on the back side. I take my needle and run it under a kloster block or two, around the thread on the end of the block and back under the rest of the kloster block. This anchors it quite securely and you can cut it safely.

This concludes the first part of your ornament. Next up, the button-hole stitch all the way around and then lastly cutting out and embellishing the middle!
Part 1


